"Building Scalable Microservices with Flask and Docker"


"Breaking it Down: Microservices vs Monolith in Docker"
Microservices and Monoliths are two architectural styles for building software applications. The main difference between them is the way the application is structured.
A monolithic architecture is a single, large application where all the components of the application are tightly coupled and deployed as a single unit. All the code is in one place, and all the functionality of the application is contained within a single codebase. This can make it easier to develop and deploy, but it can also make it harder to maintain and scale as the application grows.
In contrast, microservices architecture is an approach to building applications where the application is broken down into small, independent services that communicate with each other using APIs. Each service is responsible for a specific function and can be developed, tested, and deployed independently of the other services. This makes it easier to maintain, scale, and update the application.
There are advantages and disadvantages to both approaches. Monolithic architecture is simpler and easier to develop, but it can be harder to maintain and scale as the application grows. Microservices architecture is more complex and requires more effort to develop, but it provides greater flexibility, scalability, and resilience.
In general, the choice between monolithic and microservices architecture depends on the specific requirements of the application and the organization developing it. Small, simple applications may benefit from a monolithic architecture, while larger, more complex applications may benefit from a microservices architecture. Ultimately, the decision should be based on the specific needs of the application and the development team's capabilities and preferences.
What is API ?
API stands for Application Programming Interface. It is a set of protocols, tools, and definitions for building software applications. An API allows different software applications to communicate with each other, exchange data and functionality, and work together to perform a task.
APIs define how software components should interact, what kind of data can be exchanged, and what operations can be performed. APIs can be public or private, depending on whether they are designed for use by external developers or only for internal use.
"Mastering CRUD Operations: Essential Techniques for Efficient Data Management"
CRUD is an acronym for Create, Read, Update, and Delete. These are the basic operations that can be performed on most types of data storage systems such as databases, file systems, and web APIs. Below are brief explanations of each of these operations:
Create: This operation is used to add new data to a storage system. In a database, it involves inserting a new record, while in a file system, it involves creating a new file or folder. In a web API, it involves sending a POST request with data in the request body.
Read: This operation is used to retrieve data from a storage system. In a database, it involves querying for a record or set of records based on specific criteria. In a file system, it involves opening and reading the contents of a file. In a web API, it involves sending a GET request to retrieve data.
Update: This operation is used to modify existing data in a storage system. In a database, it involves updating a record or set of records based on specific criteria. In a file system, it involves editing the contents of a file. In a web API, it involves sending a PUT or PATCH request with updated data in the request body.
Delete: This operation is used to remove data from a storage system. In a database, it involves deleting a record or set of records based on specific criteria. In a file system, it involves deleting a file or folder. In a web API, it involves sending a DELETE request to remove data.
How Docker Network works:
Docker Network is a built-in networking feature of Docker that allows containers to communicate with each other and with the host machine. By default, Docker containers are isolated from each other, but they can be connected to one or more networks to enable communication.
Docker provides several types of networks that can be used based on your specific requirements.
Bridge network: It is the default network type created when you install Docker. Containers connected to the same bridge network can communicate with each other using container names.
Host network: Containers connected to the host network share the same network stack as the host, which means that they can access the same network interfaces and IP addresses as the host.
Overlay network: It allows containers to communicate with each other across multiple Docker hosts. This is useful for running distributed applications that span multiple hosts.
Macvlan network: It allows you to assign a MAC address to a container, which makes it appear as if it were a physical device on the network. This is useful for running legacy applications that require a physical network interface.
None network: It disables networking for the container, which can be useful in certain security scenarios.
Project on Microservices
Steps*:*
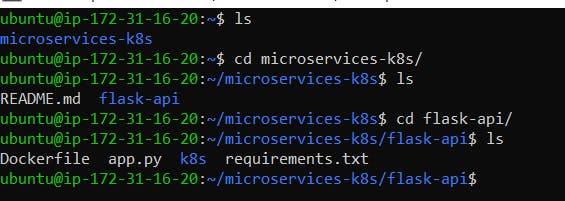
Copy and Clone the Microservices Project on the local EC2 Instance

Move to location -> ubuntu@ip-172-31-16-20:~/microservices-k8s/flask-api$
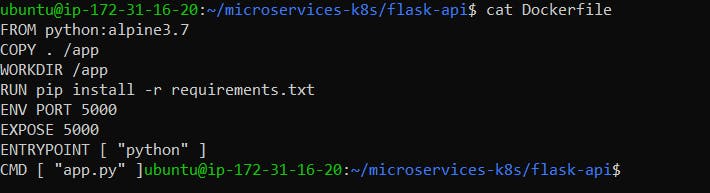
Build the Docker Image using DockerFile using the below command :
- docker build . -t flask-api:latest

Establish communication between API Container and Mongo DB container using Docker Network:

Run a first container in detached mode using flask-api:latest image, expose port 5000 for frontend, and use docker network which we create in step#5 :

Once the Container is created, under Security Groups of the same EC2 machine exposes Port 5000 using Inbound rules to control the incoming traffic that is allowed to reach the instance.
Use any Testing tool to verify the apis like Postman, RestClient, etc.
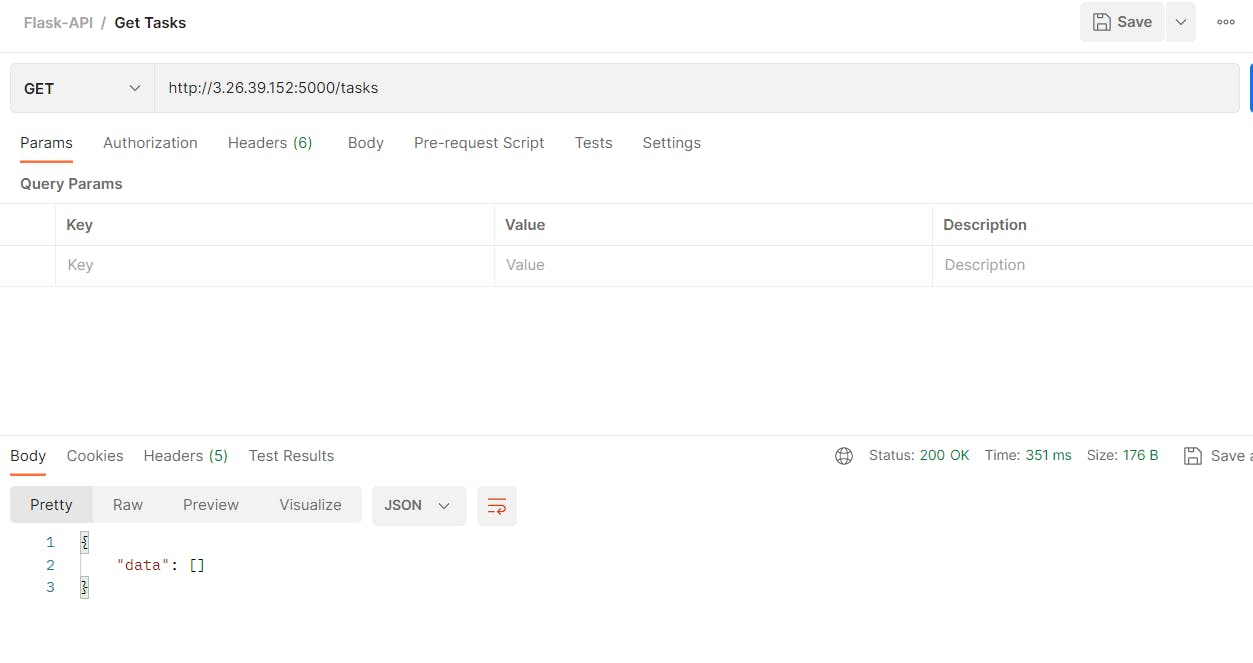
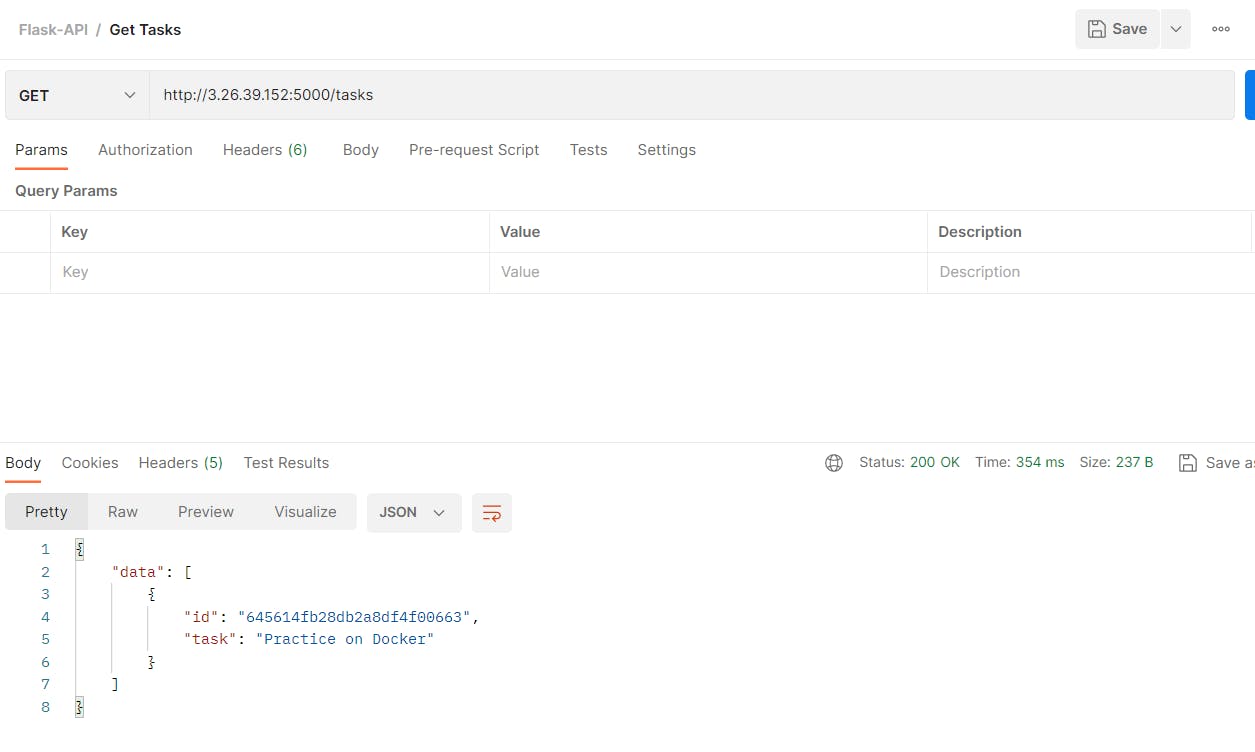
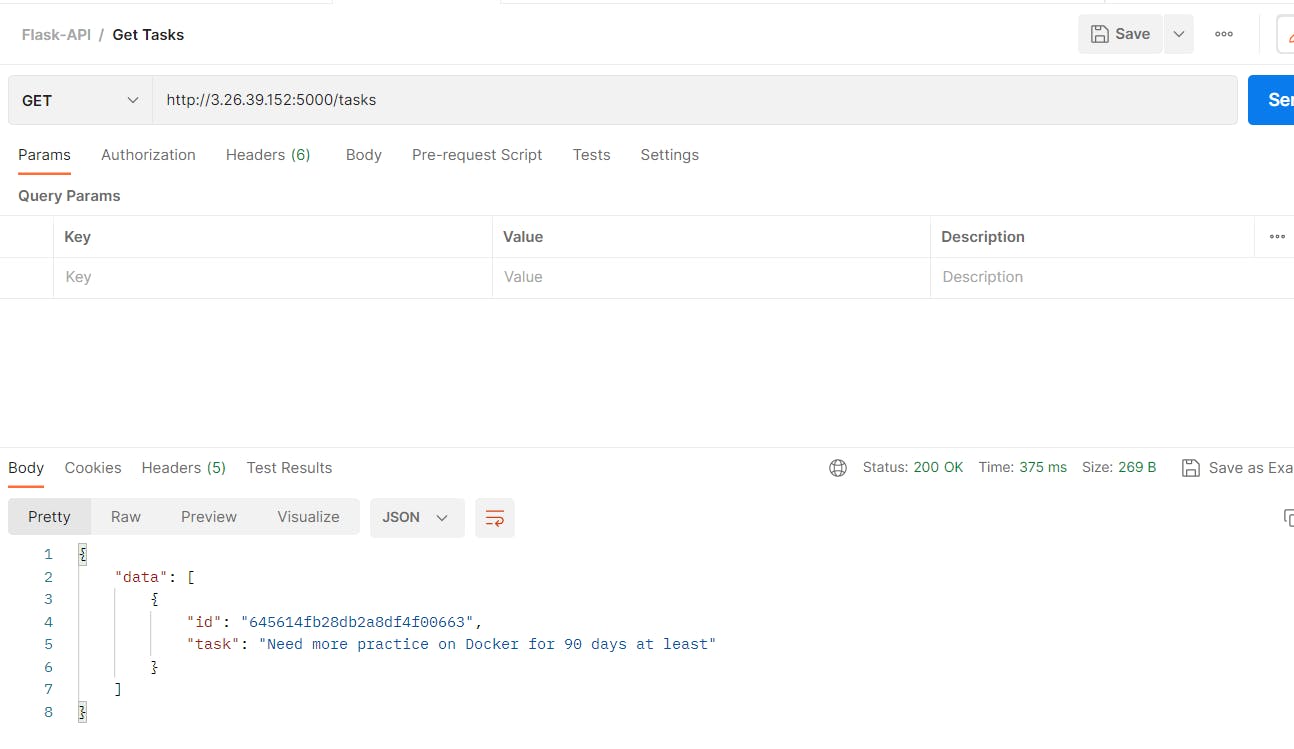
Execute GET API to check the communication between containers using EC2 instance Public IP and Port 5000:

Run a second container in detached mode using mongo:latest image, expose port 27017 for backend database with same docker network which we create in step#5 :

Once Mongo db container is running then we can get data form backend using POSTMAN :
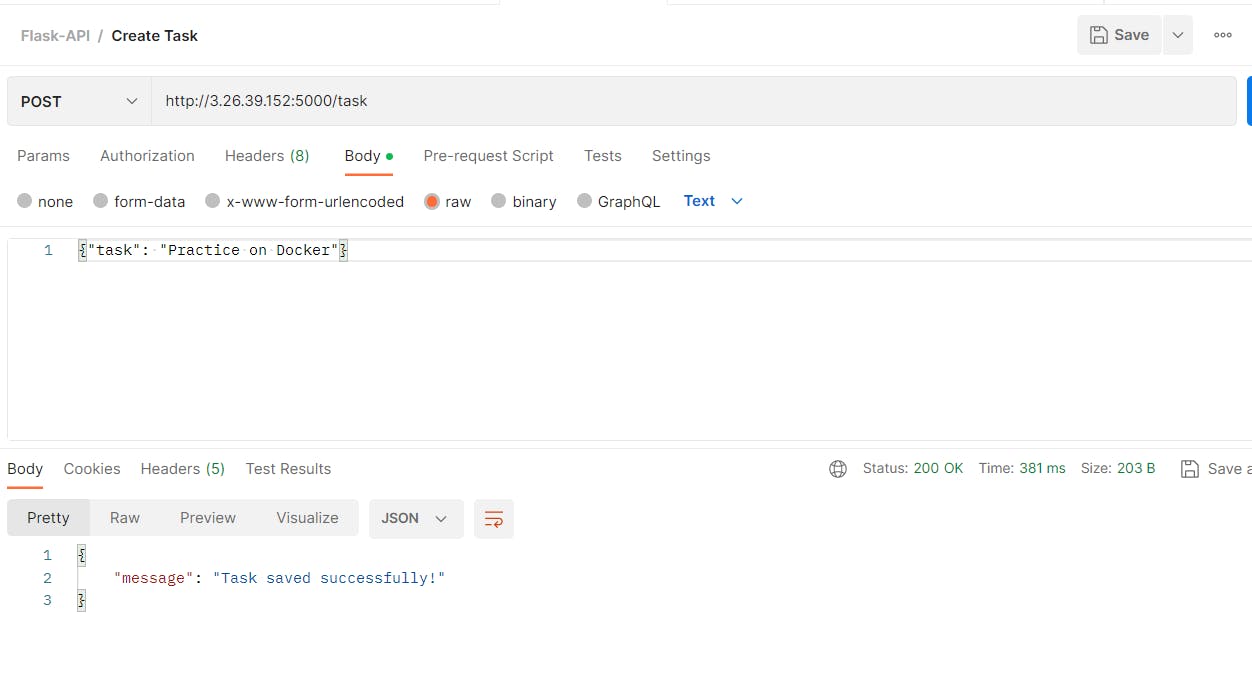
Now we create some data using CreateTask API using the POST method:
Using GETTask API to fetch the latest data:
Create some more data using CreateTask API using the POST method:

Again using GETTask API to fetch the latest data:

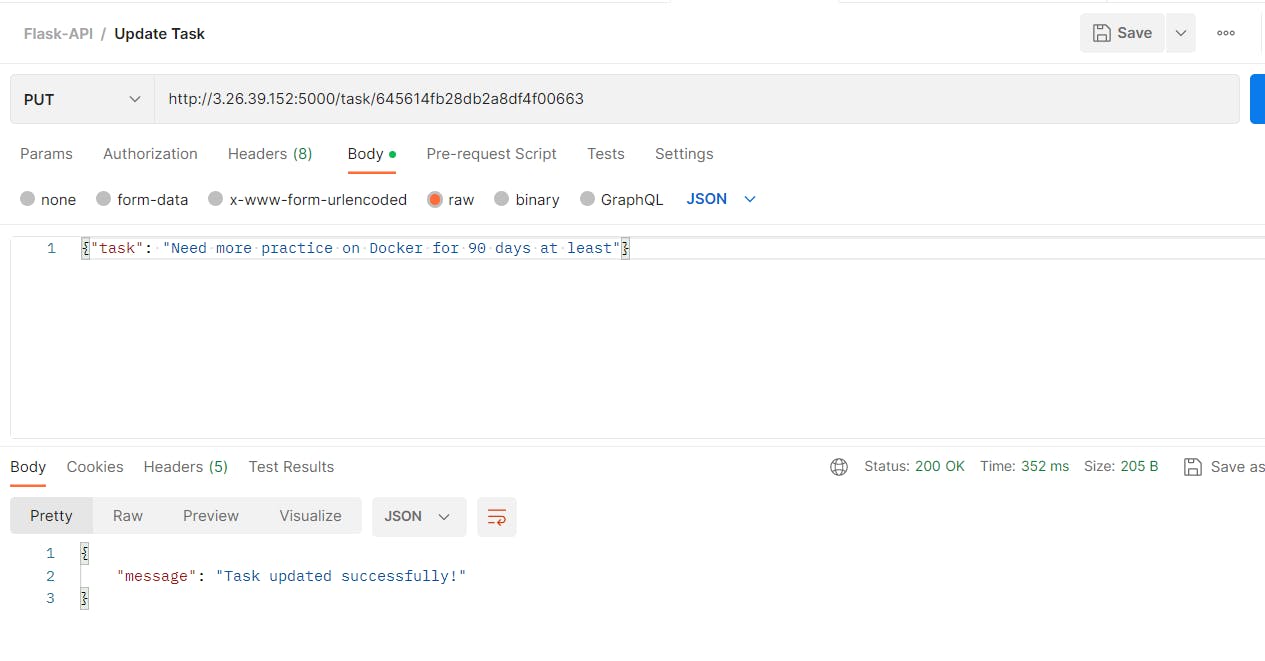
Now update some data using UpdateTask API via the PUT method :
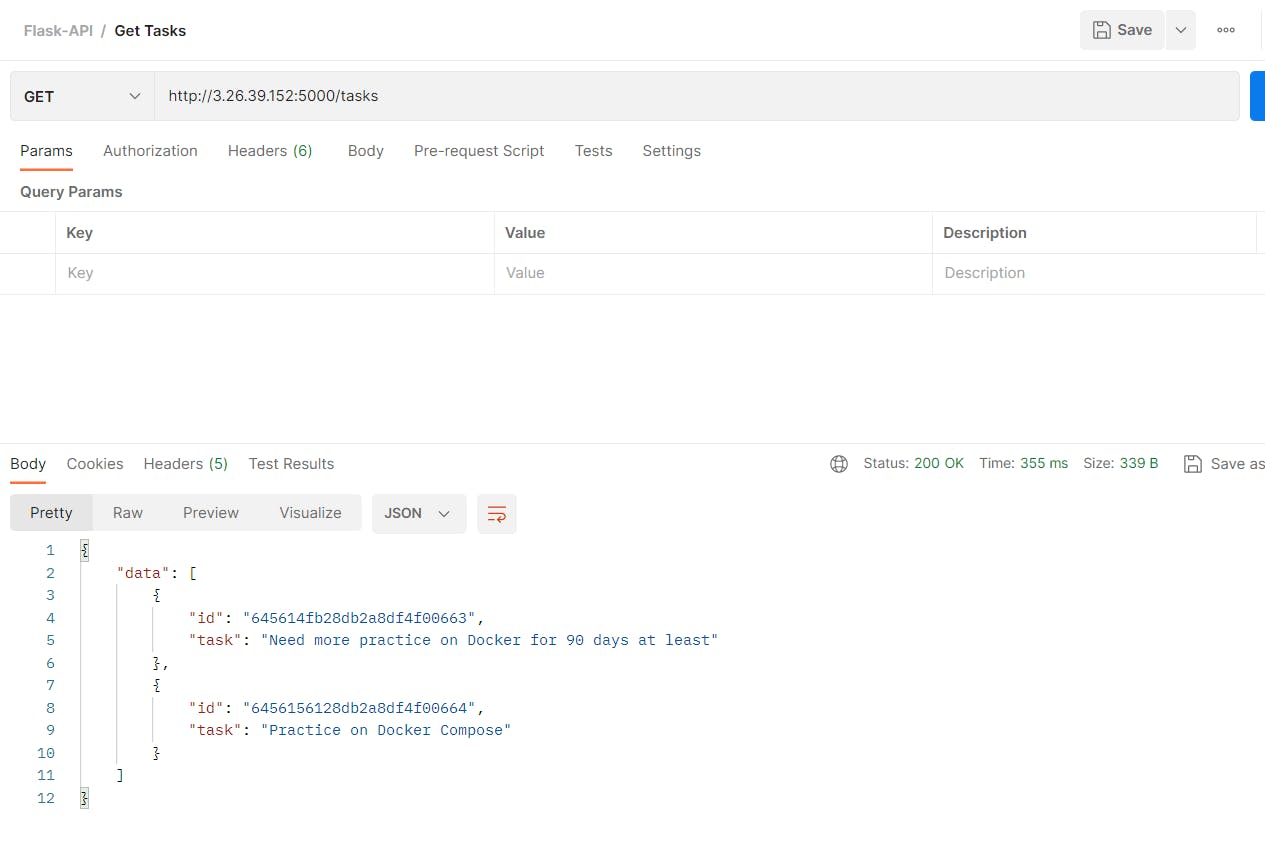
Again using GETTask API to fetch the updated data:
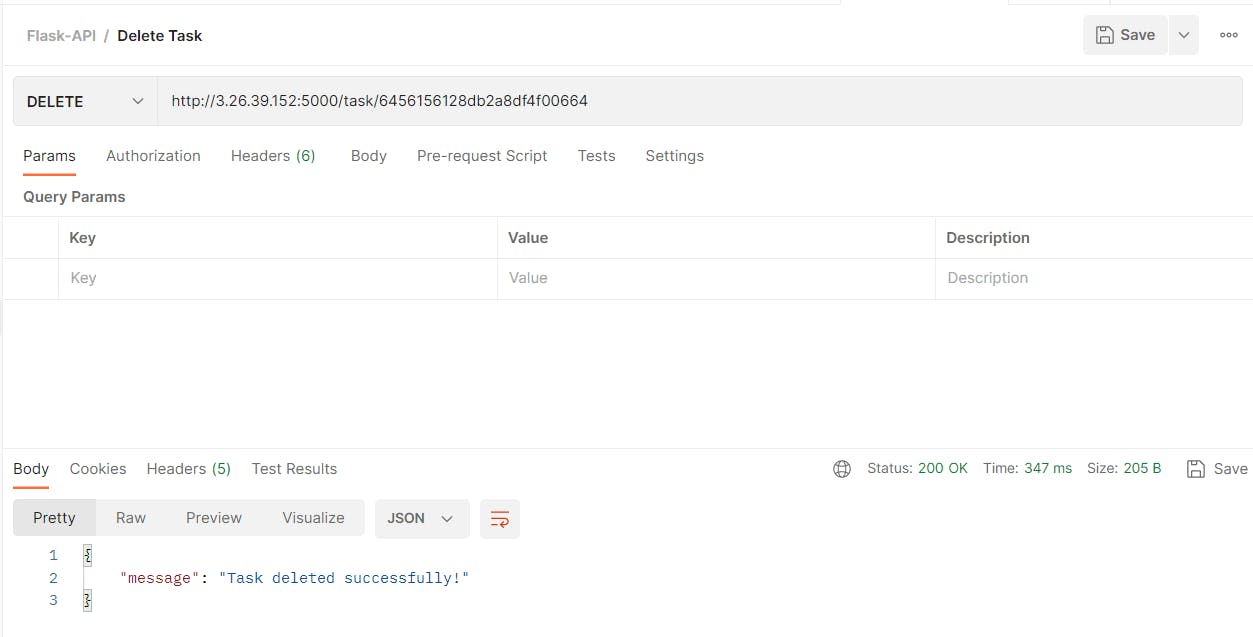
Now delete some data using DeleteTask API via the DELETE method :
Again using GETTask API to check the deleted data:
Pushing the image into the Docker Hub :
Steps:
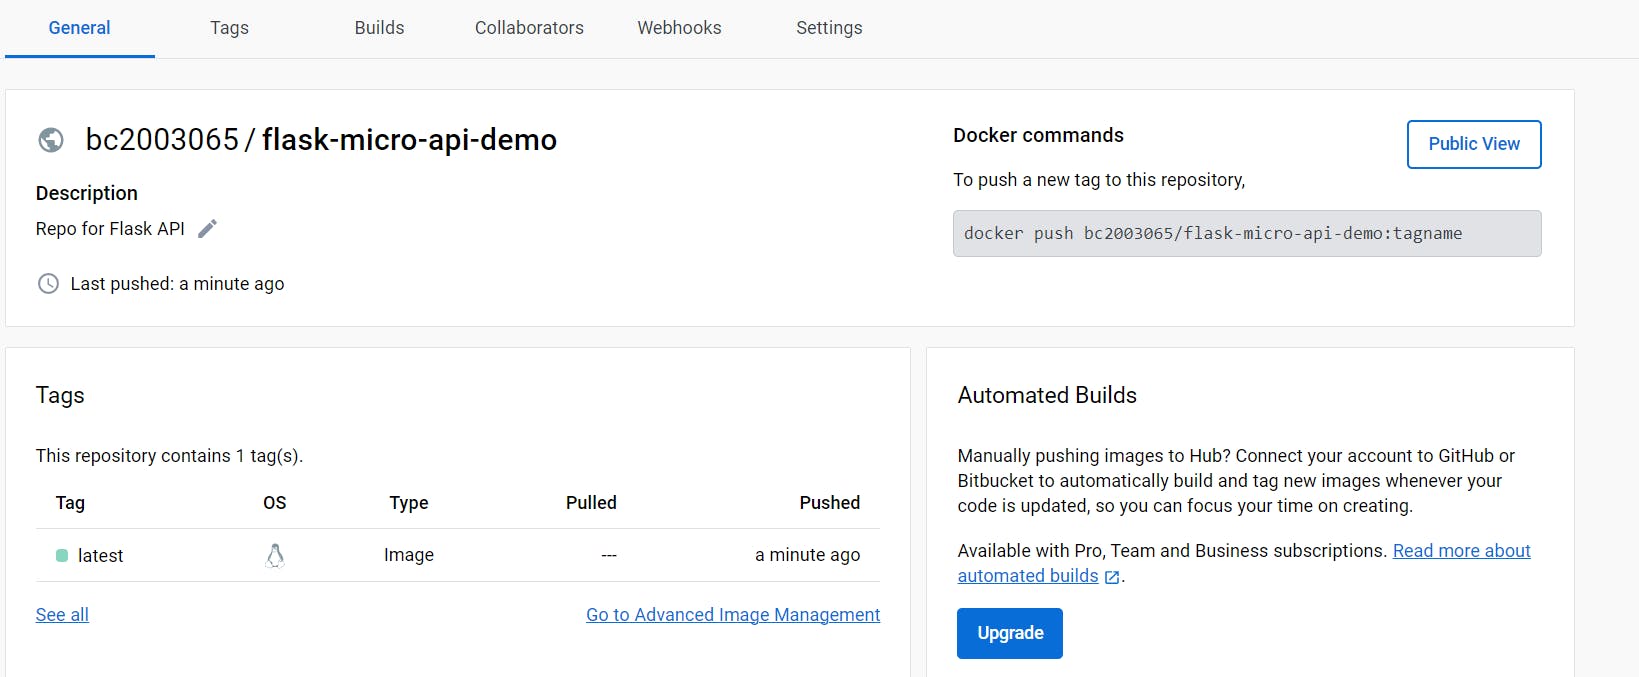
Create a repository on the docker hub :

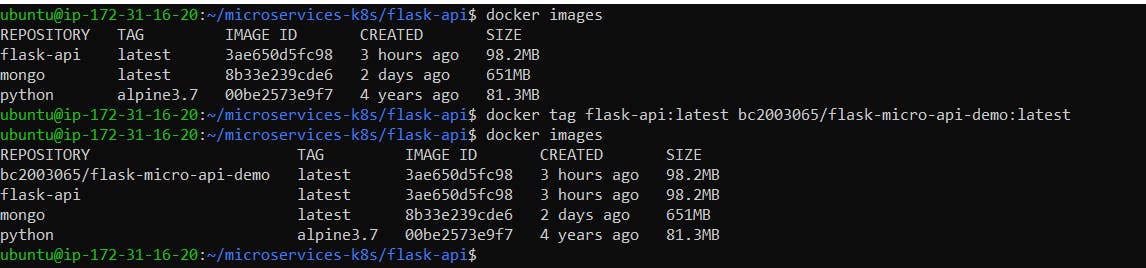
Tagged the local image with the repository:
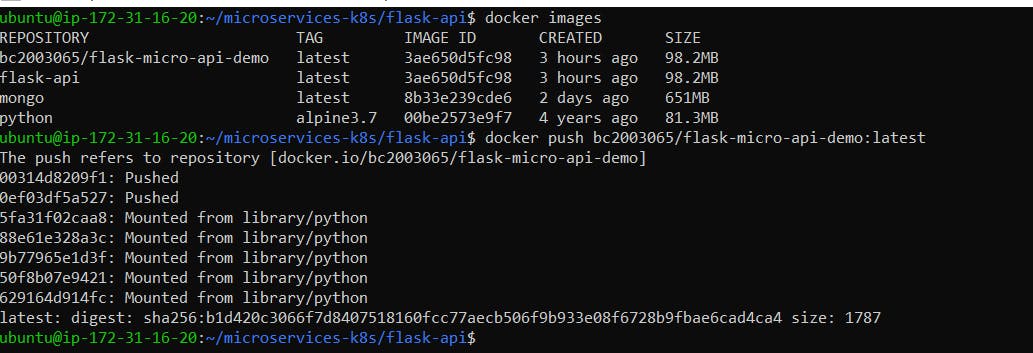
Push the image into the Docker hub :
->To push the image on Docker Hub, we need the first login via docker login and set Username & Password
Verify the image on Docker Hub:
Congratulations on successfully deploying our Microservices app using Docker.
Task:
Docker Compose: Using Docker Compose we can run the Microservices application
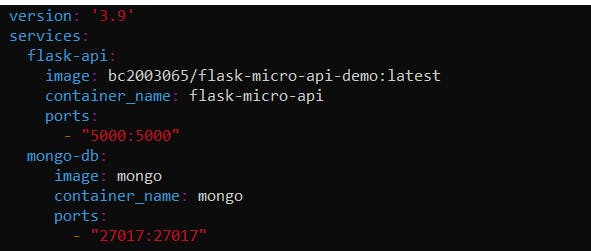
Docker Compose is a tool for defining and running multi-container Docker applications. It allows us to describe the services that make up our application in a simple YAML file and then easily spin up all the necessary containers with a single command. Compose also provides a way to manage the network configuration and volumes for our application, making it easy to create complex, multi-container environments for development, testing, and production.
Create a YAML file with the below commands:
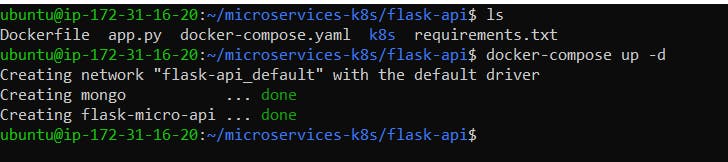
Execute docker-compose up, to start docker containers:
Once the containers are running then we can perform steps from #10 to #18

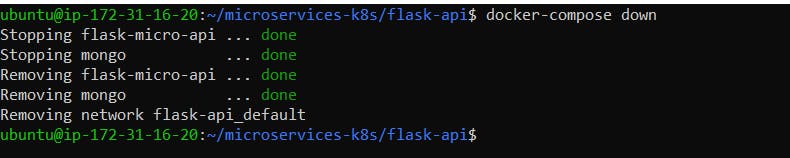
To down the running containers, we will do this via cmd docker-compose down :
I am incredibly grateful for the opportunity to share my thoughts and insights through this blog. It has been a privilege to have a platform to express my ideas and engage with readers on important topics. I am thankful for the support and encouragement of my readers, as well as the feedback that has helped me improve my writing. Thank you for taking the time to read my blog and for your continued support.
Keep Learning!
#90daysofDevopsChallenge